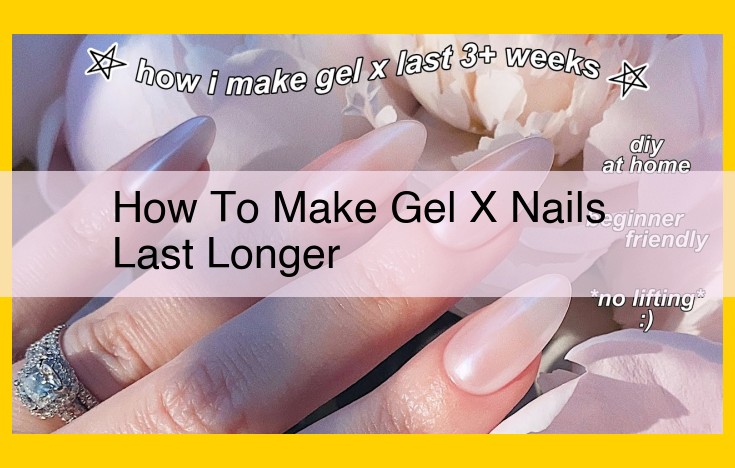
How to Make Gel X Nails Last Longer
Ensure impeccable preparation by meticulously cleaning and buffing nails. Apply the adhesive thinly and evenly to avoid bumps. Cure the nails thoroughly under the lamp for optimal strength. File the edges to prevent snagging. Seal in the gel with a top coat and refresh it regularly to maintain shine and durability. Minimize water exposure and wear gloves for protection. With these simple tips, you can extend the lifespan of your Gel X nails and enjoy a flawless, long-lasting manicure.
In the realm of nail artistry, innovation reigns supreme, and the introduction of Gel X nails has ignited a revolution. These game-changing nail extensions have taken the industry by storm, offering a seamless blend of durability, versatility, and ease of application.
Unlike traditional nail tips, Gel X nails are crafted from a flexible gel material that mimics the natural contours of your nails. This unique composition not only enhances their longevity but also eliminates any concerns about breakage or discomfort. The versatile nature of Gel X nails allows you to experiment with a myriad of shapes and lengths, catering to every aesthetic preference.
Moreover, the ease of application is a welcome departure from the meticulous techniques of yesteryear. Gel X nails can be effortlessly secured to your natural nails using a specialized gel adhesive, eliminating the need for lengthy sculpting or harsh drilling. Embrace the future of nail extensions with Gel X nails and redefine your manicure possibilities.
Materials and Equipment: Your Essential Toolkit for Gel X Nail Perfection
Embark on your journey to stunning, extended nails with Gel X technology. Gather these essential tools to kickstart your nail transformation:
- Nail File: Say goodbye to uneven edges and hello to smooth, shaped nails.
- Buffer: Buff away any imperfections for a flawless base.
- Cuticle Pusher: Gently push back cuticles to create a clean, polished canvas.
- Alcohol Wipes: Banish oils and dust, ensuring long-lasting adhesion.
- Nail Glue: Securely bond the Gel X extensions to your natural nails.
- Lint-Free Wipes: Wipe away excess gel and leave behind a pristine finish.
- LED/UV Lamp: Harden the gel for ultimate durability.
Step-by-Step Gel X Nail Application: A Detailed Guide
Embark on a journey to transform your nails with the revolutionary Gel X system. This detailed guide will equip you with the knowledge and skills to achieve stunning, long-lasting extensions in the comfort of your home.
1. Preparing Your Canvas: Nail Prep
Before applying Gel X nails, it’s crucial to prepare your natural nails for optimal adhesion. Gently push back your cuticles with a cuticle pusher, remove dead skin cells with a nail buffer, and dehydrate your nails with a lint-free wipe and rubbing alcohol. This creates a clean surface for the gel to bond with.
2. Selecting and Applying Gel X Nails
Choose the perfect size and shape for each nail to avoid discomfort or an unnatural appearance. Apply a thin layer of gel adhesive to your natural nail and the base of the Gel X nail. Position the Gel X nail securely, ensuring it aligns with your cuticle.
3. Shaping and Filing: Sculpting Your Extensions
Once the Gel X nails are in place, shape them using a file. File in small, gentle strokes to avoid damaging the gel. Start with a coarse file to remove bulk, then switch to a finer file to refine the shape. File the edges to create a seamless transition between your natural nail and the extension.
4. Curing: Sealing the Deal
Cure each nail under an LED or UV lamp according to the manufacturer’s instructions. This process polymerizes the gel, strengthening the bonds between the layers and ensuring durability.
5. Finishing and Maintenance: Maintaining Your Masterpiece
Apply a top coat to seal in the gel and enhance shine. File your nails as needed for maintenance and prevent snagging. Regular top coat touch-ups will keep your Gel X nails looking their best.
Techniques and Tips: Enhancing Your Gel X Application Skills
Mastering the art of Gel X application requires precision and attention to detail. Here are essential techniques and tips to elevate your skills and achieve stunning results:
Choose the Ideal Gel X:
Determine the perfect size and shape for each nail to ensure comfort and a natural appearance. Avoid choosing sizes that are too large or too small, as this can cause discomfort or breakage.
Prepare Your Nails Flawlessly:
Thorough nail preparation is crucial for creating a strong and long-lasting bond between your natural nails and the Gel X extensions. Gently push back your cuticles to remove any excess skin and file your nails to create a slightly rough surface for better adhesion.
Apply Gel Adhesive Meticulously:
To prevent lumps or bubbles, apply the gel adhesive evenly and thinly. Use a small brush or dotting tool to distribute the adhesive sparingly on both the natural nail and the Gel X. Avoid over-applying, as this can compromise the adhesion.
Cure Thoroughly for Longevity:
The curing process under an LED or UV lamp is vital for ensuring the durability of your Gel X extensions. Follow the manufacturer’s instructions carefully for the recommended curing time. Insufficient curing can weaken the bonding and shorten the lifespan of your extensions.
*Prevent Snagging:**
Shape and file your Gel X extensions meticulously to prevent snagging or peeling. Use a fine-grit file to smooth out any sharp edges or rough spots. Avoid filing too aggressively, as this can damage the gel material.
*Master Top Coat Application:**
A top coat is an essential finishing touch that enhances the longevity and shine of your Gel X extensions. Apply a thin layer of top coat and cure it under the lamp to seal in the gel and protect it from damage. Regular top coat refresh can help maintain the flawless appearance of your extensions.
Care and Maintenance: Preserving Your Gel X Beauty
Maintaining your Gel X nails is key to ensuring their longevity and enhancing their beauty. Here’s a comprehensive guide to help you keep your Gel X extensions looking flawless:
Water Exposure and Protection
- Avoid excessive immersion in water, as prolonged exposure can weaken the bond between the gel and your natural nails.
- When washing dishes or doing other water-intensive activities, wear gloves to protect your Gel X extensions from moisture.
- If your nails do come into contact with water, dry them thoroughly afterward to prevent any lingering moisture from compromising the gel’s integrity.
Top Coat Refresh
- A top coat is essential for sealing in the gel and protecting it from wear and tear.
- Regular touch-ups of the top coat are crucial to maintain the gel’s durability and glossy shine.
- Apply a thin layer of top coat every 7-10 days to keep your Gel X extensions looking fresh and pristine.
- Remember to cure the top coat under an LED/UV lamp to ensure proper hardening and protection.
By following these simple care and maintenance tips, you can extend the life of your Gel X nails and enjoy their beauty for weeks to come. Remember, proper care is essential to preserve the integrity and stunning appearance of your Gel X extensions.
